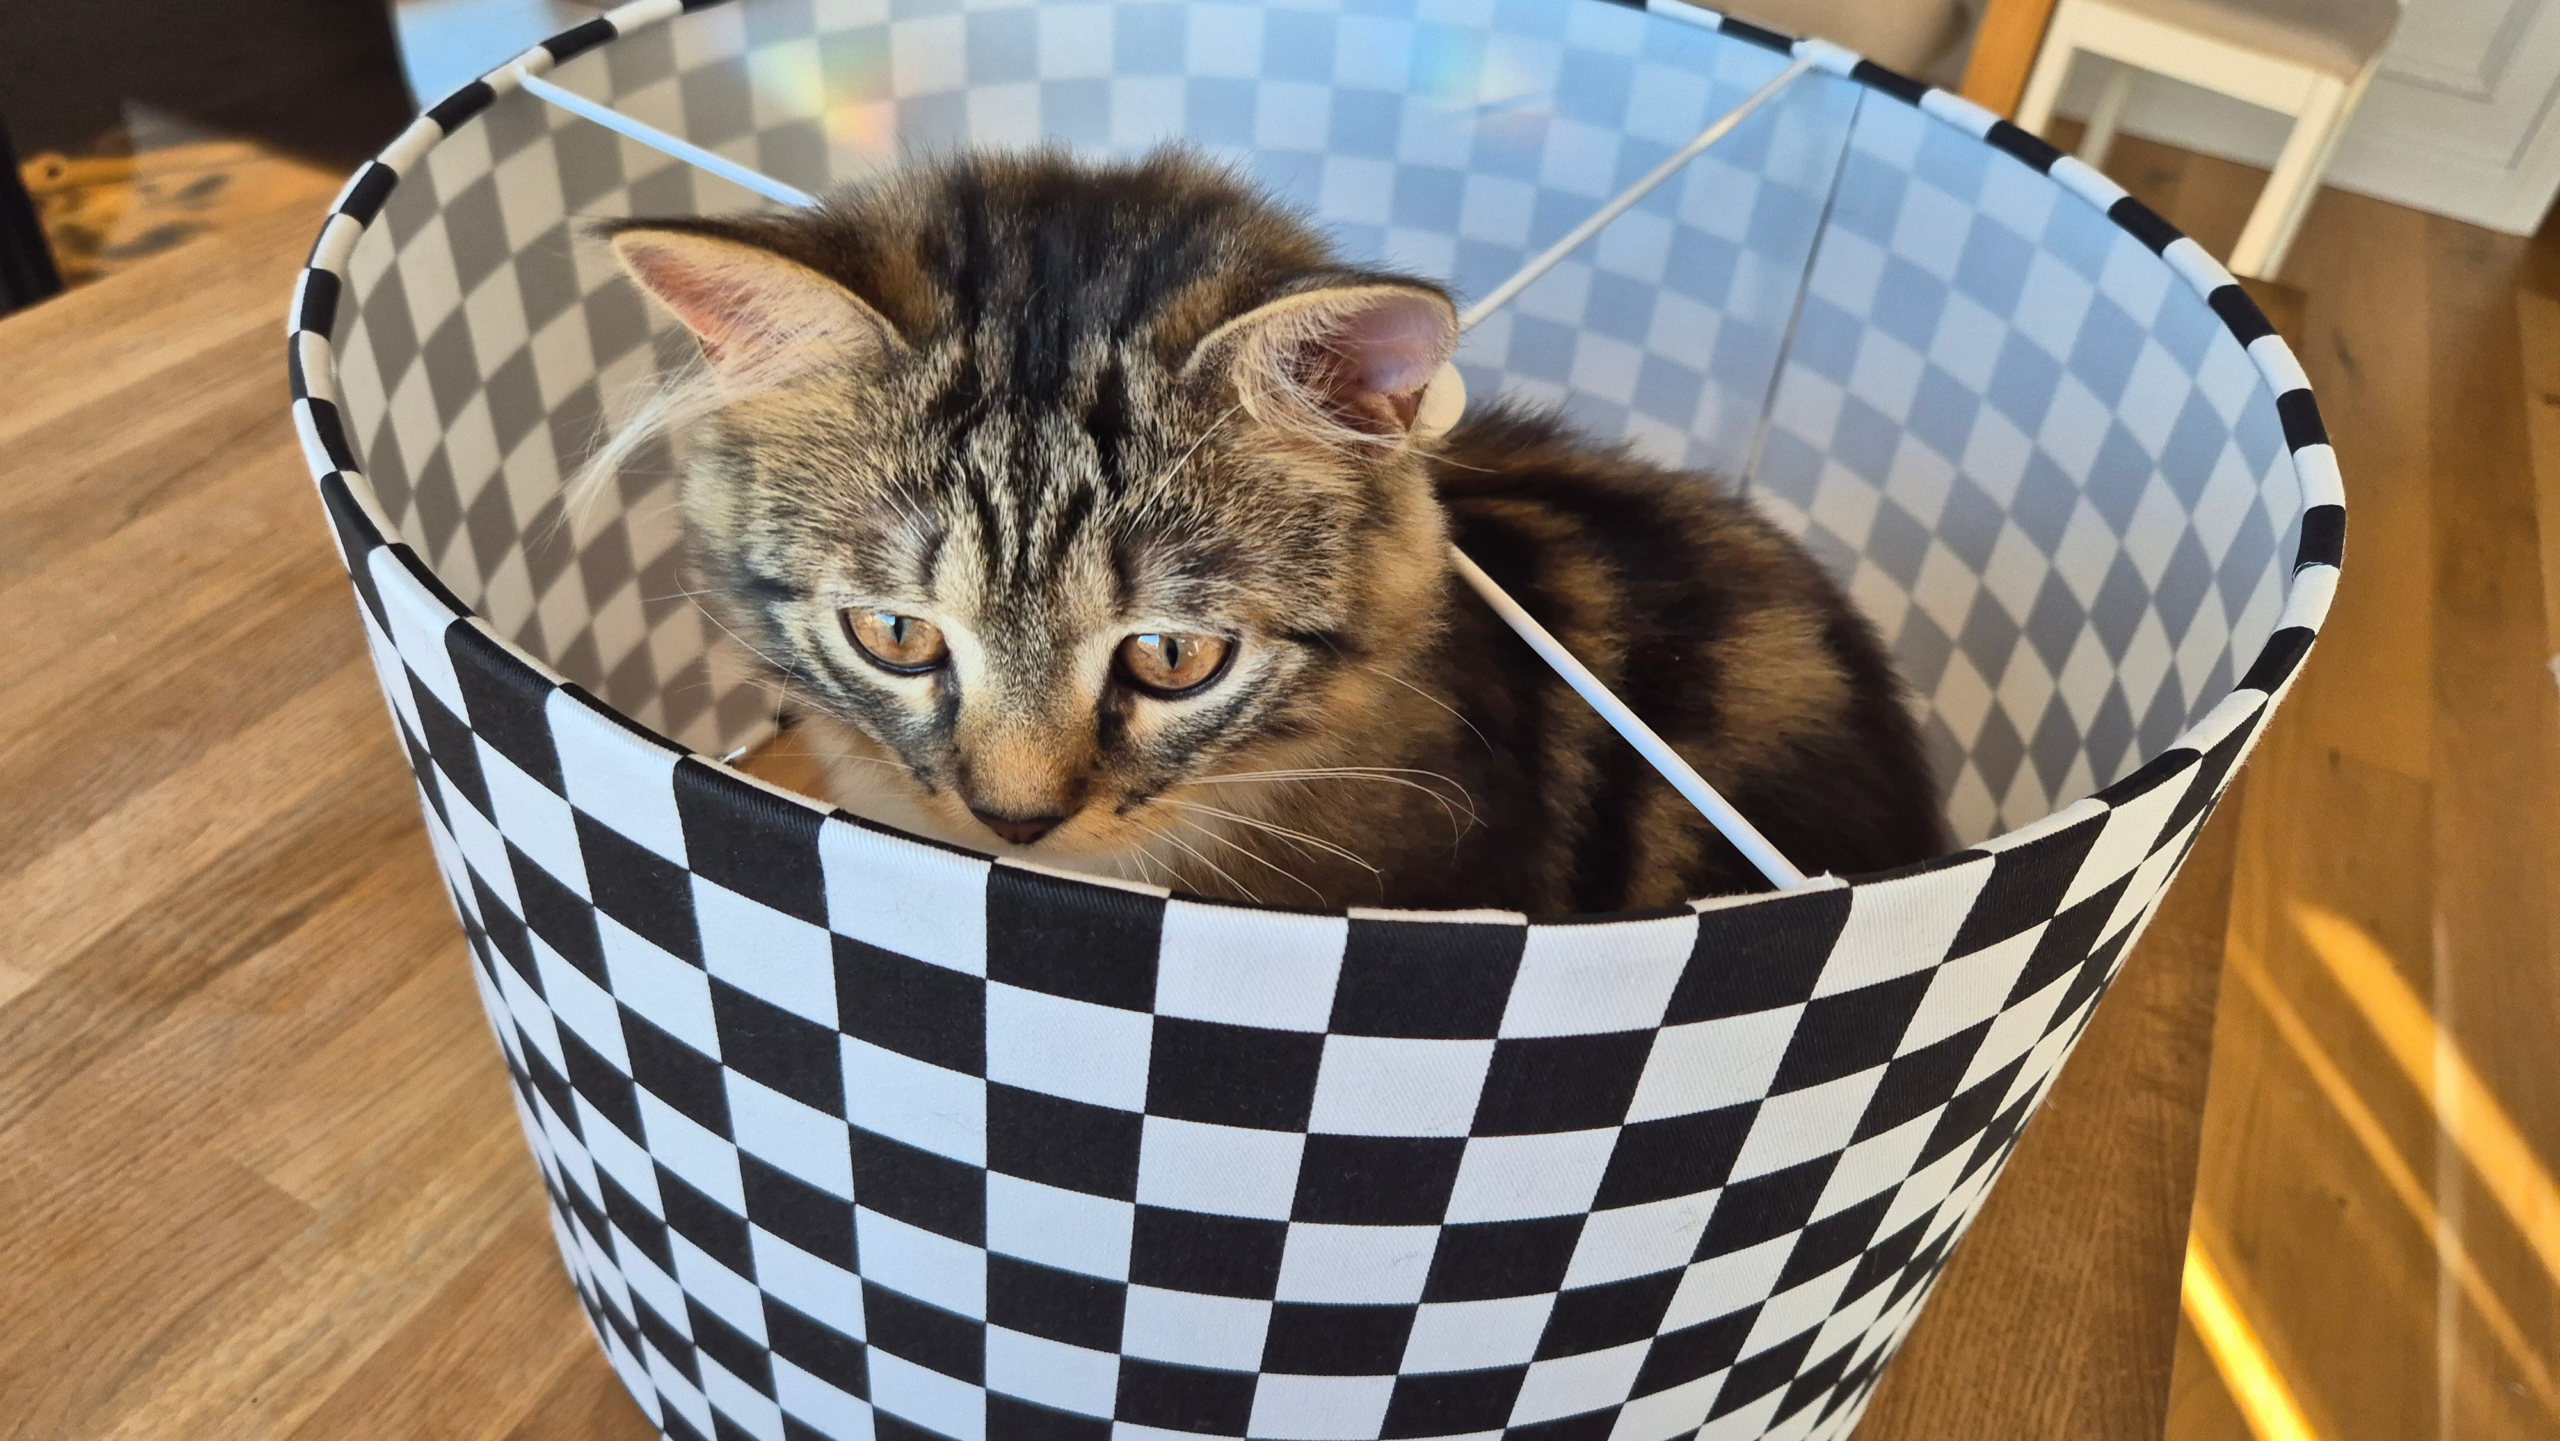

Step-by-step on how to make a lamp shade in under 1 hour. In this guide I’ll show you exactly how I made this lamp shade using a DIY lampshade kit — no special tools, no experience needed. Just follow along.
3 Crucial Steps to Do Before You Start Your DIY Lampshade Project

Choosing the right frame
Your frame determines everything: the size, the shape, and how much self-adhesive and fabric you’ll need. Before you go any further, check whether you already have a frame — an old lampshade ring is perfect to reuse and a great way to get started. If you need a new one, first decide whether you’re making a pendant or a table lamp, and whether it’s for a US or European. Getting this wrong is the most common beginner mistake — and the easiest to avoid.

Choosing the best fabric
Once you have your frame, you can choose your fabric with confidence — because now you know exactly how much you need. Quilting cotton, polycotton or poplin is the ideal choice for beginners: the tight weave means clean edges when you cut, no fraying, and the fabric stays stable during lamination. If you’re drawn to a patterned fabric, decide in advance which part of the design you want centred on the shade, as this affects how much you need to buy.
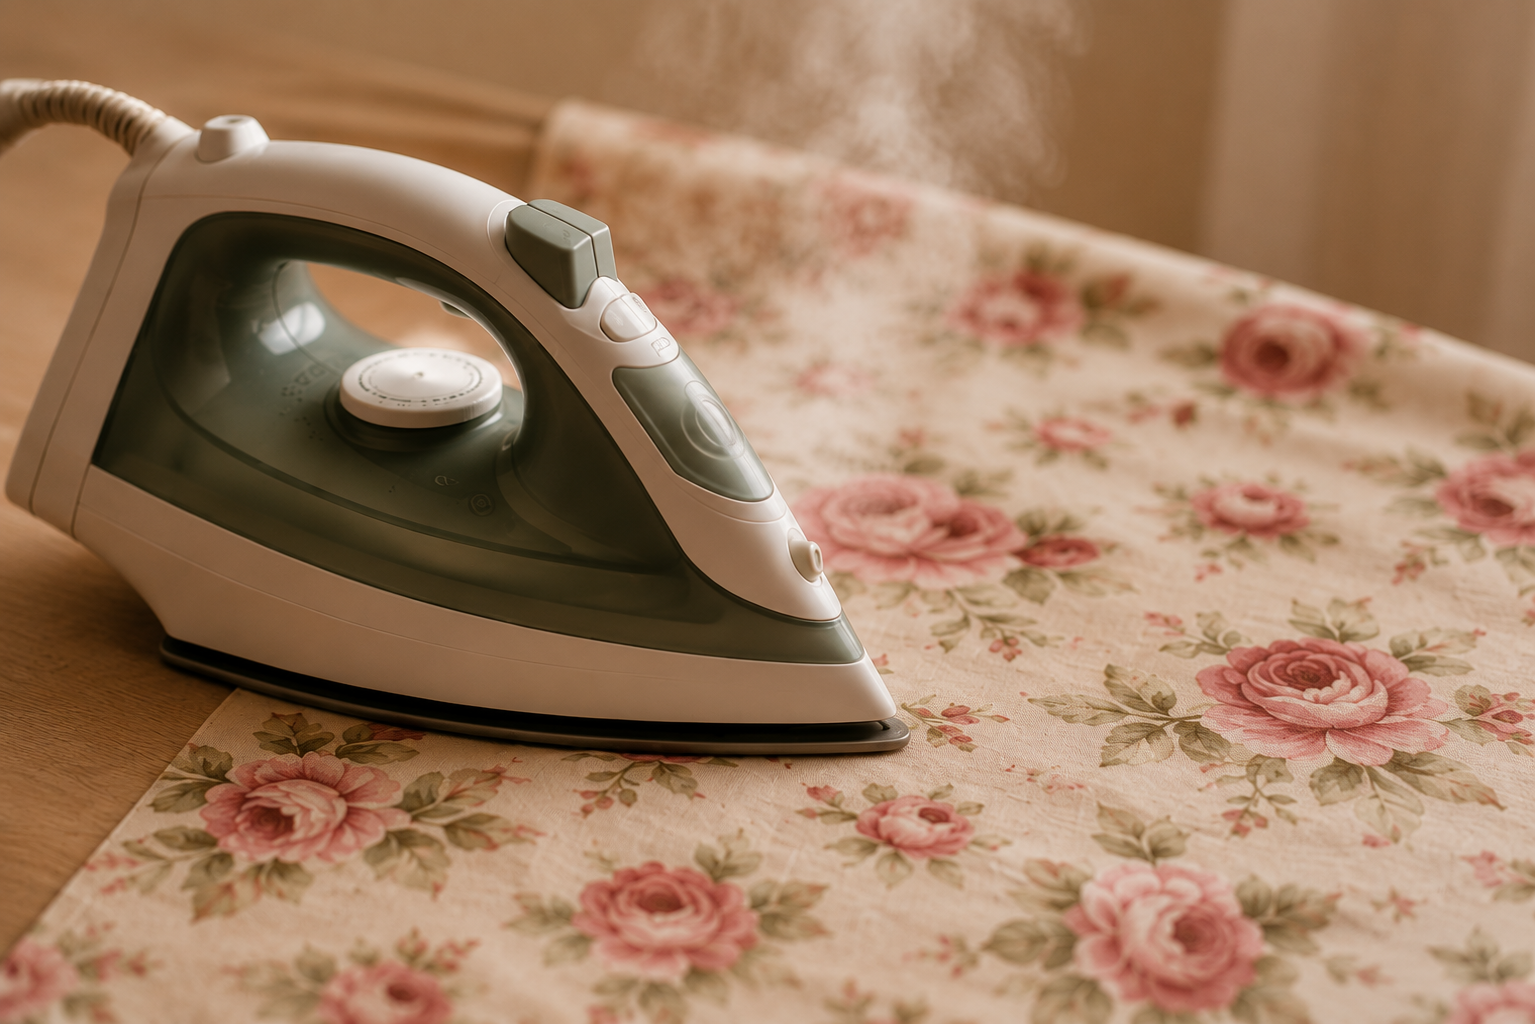
Iron your fabric
This is the step most beginners skip — and the one they always regret on the progress on how to make a lamp shade. Any creases or fold lines in your fabric will be permanently locked in the moment it’s laminated to the backing. No amount of pressing afterwards will fix it. A quick pass with a steam iron takes two minutes and costs nothing, but it’s the difference between a lampshade that looks handmade and one that looks homemade. Press, let it cool, then start.
How to Make a Lamp Shade: 20 Secret Steps & Proven Tips Nobody Else Shares
In this step-by-step DIY lampshade tutorial, you’ll learn exactly how to make a lamp shade from start to finish using a lampshade making kit. Whether you’re creating your first drum lampshade or looking to improve your lampshade making skills, this beginner-friendly guide will walk you through every stage of the process with easy-to-follow instructions and helpful tips for professional results.
1.Prepare your fabric
Start by ironing your fabric until it’s completely smooth. This step makes a bigger difference than most people expect — wrinkles in the fabric at this stage will show in the finished lamp shade and are nearly impossible to fix later.
Lightweight cotton or linen works best — these are the most popular fabrics for lampshades as they let light through evenly without sagging.
2.Lay your fabric face down
Place your fabric face down on a clean, flat surface. Make sure the whole piece is spread out smooth — this is your foundation for every step that follows. At this point the pattern direction is not important. The panel in our kit uses adhesive styrene backing — a firm but flexible material that gives the lampshade its structure without needing a wire base.
3.Position the adhesive panel onto your fabric
Peel back a corner of the protective layer on the sticky side of the panel. Starting from one edge, slowly press it down onto your fabric — work gradually rather than removing the whole backing at once. This helps avoid air bubbles and misalignment. Once the panel is fully down, smooth it out with a clean cloth. This is especially important if you’re working with a metallic backing — fingerprints show easily.
4.Mark your seam allowance
With the panel fully attached to your fabric, use a tape measure and fabric marker to mark a seam allowance of at least 0.6 inches (1.5 cm) around all of the edges of the panel. This extra fabric is what you’ll fold under the lamps hade frame using a lampshade tucking tool — so don’t skip it or cut too close. If you’re unsure, always go a little wider rather than trimming too tight — you can always cut more, but you can’t add fabric back.
5.Cut along your marked lines
Cut along the seam allowance lines you marked in the previous step. Use sharp, large scissors for a clean and precise cut — small or blunt scissors tend to drag the fabric and leave ragged edges, which makes the next steps much harder. If you have a few loose threads after cutting, you can carefully run a match or lighter briefly along the edge to melt them — but keep the flame moving and don’t linger, as the adhesive styrene backing can catch quickly
6.Trim the short edge flush
On one of the short edges, trim the fabric right to the edge of the panel — or even just slightly behind it. Unlike the other sides, you don’t want any seam allowance here. This is the edge that will sit on the inside of the finished lamp shade, and any excess fabric will be visible from the inside once it’s assembled.
7.Apply double-sided tape to the second short edge
On the second short edge, apply a strip of double-sided tape directly onto the fabric. Then cut along the outer edge of the tape — this gives you a clean, ready-to-join edge that will bond tightly when you close the lamp shade into shape. Don’t remove the tape backing yet.
8.Fold the taped edge onto the styrene
Peel off the protective backing from the double-sided tape and fold that short edge back onto the styrene sheet, pressing it down firmly. Run your fingers along the full length of the join to make sure it bonds evenly — a strong seal here means a clean, invisible seam on the finished lamp shade.
9.Apply red double-sided tape to the folded edge
Apply a strip of red double-sided tape along the folded edge — this is what will seal the lamp shade closed when you’re ready to join the two ends together. Leave the protective layer on for now. This you will remove later when we will assemble the lamp shade.Y our styrene panel is now fully prepared — set it aside and we’ll come back to it shortly. The best tape to use is TESA 4965.
10.Tape the lampshade frames with double-sided tape
Take your 2 lampshade frames and apply the red double-sided tape all the way around both rings, covering them fully. Once the tape is in place, peel off the protective backing and slowly pinch it around the frame — the frames are now ready to bond with the fabric when you assemble the shade. Work slowly around the curve to keep the tape smooth.
11.Position the frames onto the edges
Take both taped lampshade frames and place them directly onto the styrene, not on the fabric seam allowance. Start with the edge that has no red tape. The frames should sit right on the edge of the styrene, so they’ll be neatly hidden once the fabric is folded over them in the next step. This is also the moment to check your fabric pattern direction — the pattern should read the right way up from the spider fitter ring, so place that ring at the top edge. Double check before committing.
12.Roll the shade around the frames
Slowly roll the styrene panel around both frames, keeping steady even pressure as you go. Make sure the rings stay right on the edge of the styrene throughout — not drifting onto the fabric seam allowance, and not angling inward toward the middle. Take your time here — the styrene guides itself naturally and this step is easier than it looks. Just keep it slow and even.
13.Seal the seam
Peel off the protective backing from the red double-sided tape on the folded edge. Carefully bring the two short ends together and press the seam firmly along its full length. The tape bonds instantly, so take a moment to align the edges before committing — once pressed together it won’t come apart easily. Run your fingers along the seam from top to bottom to make sure it’s fully bonded. Your lamp shade now holds its shape.
14. Press the seams
Once the seam is aligned, press the two ends of the lampshade panel together firmly to create a strong bond. We recommend placing a soft piece of fabric this helps prevent scratches, fingerprints, or marks—especially when working with gold, silver, mirror, or other metallic styrene sheets where surface imperfections are more visible. Important: The overlapping fabric marked with red X’s should be trimmed away after the seam has been secured.
15. Remove overlapping fabric
Remove the overlapping fabric tabs left at the seam area. Using sharp and small scissors trim away only the excess overlap while keeping the outer fabric layer intact.Take care not to cut into the visible outer fabric, as this layer conceals the seam and creates a clean, professional finish. Once the excess material has been removed, the seam should appear neat and almost invisible from the outside of the lampshade.
16. Make Relief Cuts
When you reach a spider fitter arm (also known as a spoke), make a small relief cut in the excess fabric directly in line with the metal support. This allows the fabric to wrap neatly around the spoke without bunching or creating wrinkles.Carefully cut only up to the edge of the metal frame. Do not cut beyond the frame, as this may weaken the finished edge and leave visible gaps.
17. Fold the Fabric
After making the relief cuts, fold the fabric tabs neatly around the metal support arm and press them firmly onto the adhesive backing. The cuts allow the fabric to conform smoothly around the spoke, creating a clean and professional finish without wrinkles or excess bulk Tip: Smooth the fabric with your thumb as you fold to achieve a crisp, even edge around the spider fitter arm.
18. Wrap the fabric around the frames
This stage has a big impact on the final appearance of your lampshade, so it is worth taking your time. Do it on both sides.
Starting at one point on the frame, gradually roll the lampshade while folding the fabric over both adhesive rings. Work slowly around the shade, pressing the fabric firmly onto the tape as you go.
19. Tuck the Fabric Behind the Ring
Use the wooden tucking tool topush the fabric behind the metal ring. Work in small sections and apply firm, even pressure to create a crisp, professional edge. Don’t be afraid to use a little force—the fabric needs to be pushed securely behind the ring for a neat finish. Continue working around the entire lampshade until all fabric edges are tucked neatly out of sight. If you are working with metallic styrene take extra care not to drag the tool across the visible surface to avoid scratching.
Enjoy Your Handmade Lampshade – This Is How To Make A Lamp Shade – Was It Easy?
Congratulations! You’ve learned how to make a lamp shade and successfully created your own custom lampshade using a DIY lampshade kit.
With just a few simple tools, a lampshade making kit, and your chosen fabric, you’ve transformed a flat panel into a beautiful handmade lampshade that is uniquely yours. Whether you’ve matched it to your home décor, upcycled a favorite fabric, or created a one-of-a-kind gift, your finished lampshade is something to be proud of.
Now it’s time to place your new lampshade on a lamp base, switch on the light, and enjoy the warm glow of your creation.
Ready to make another one? Explore our DIY lampshade kits and discover how easy it is to create professional-quality lampshades at home.